Common Failures in Pipe Welding Lines and Their Root Causes
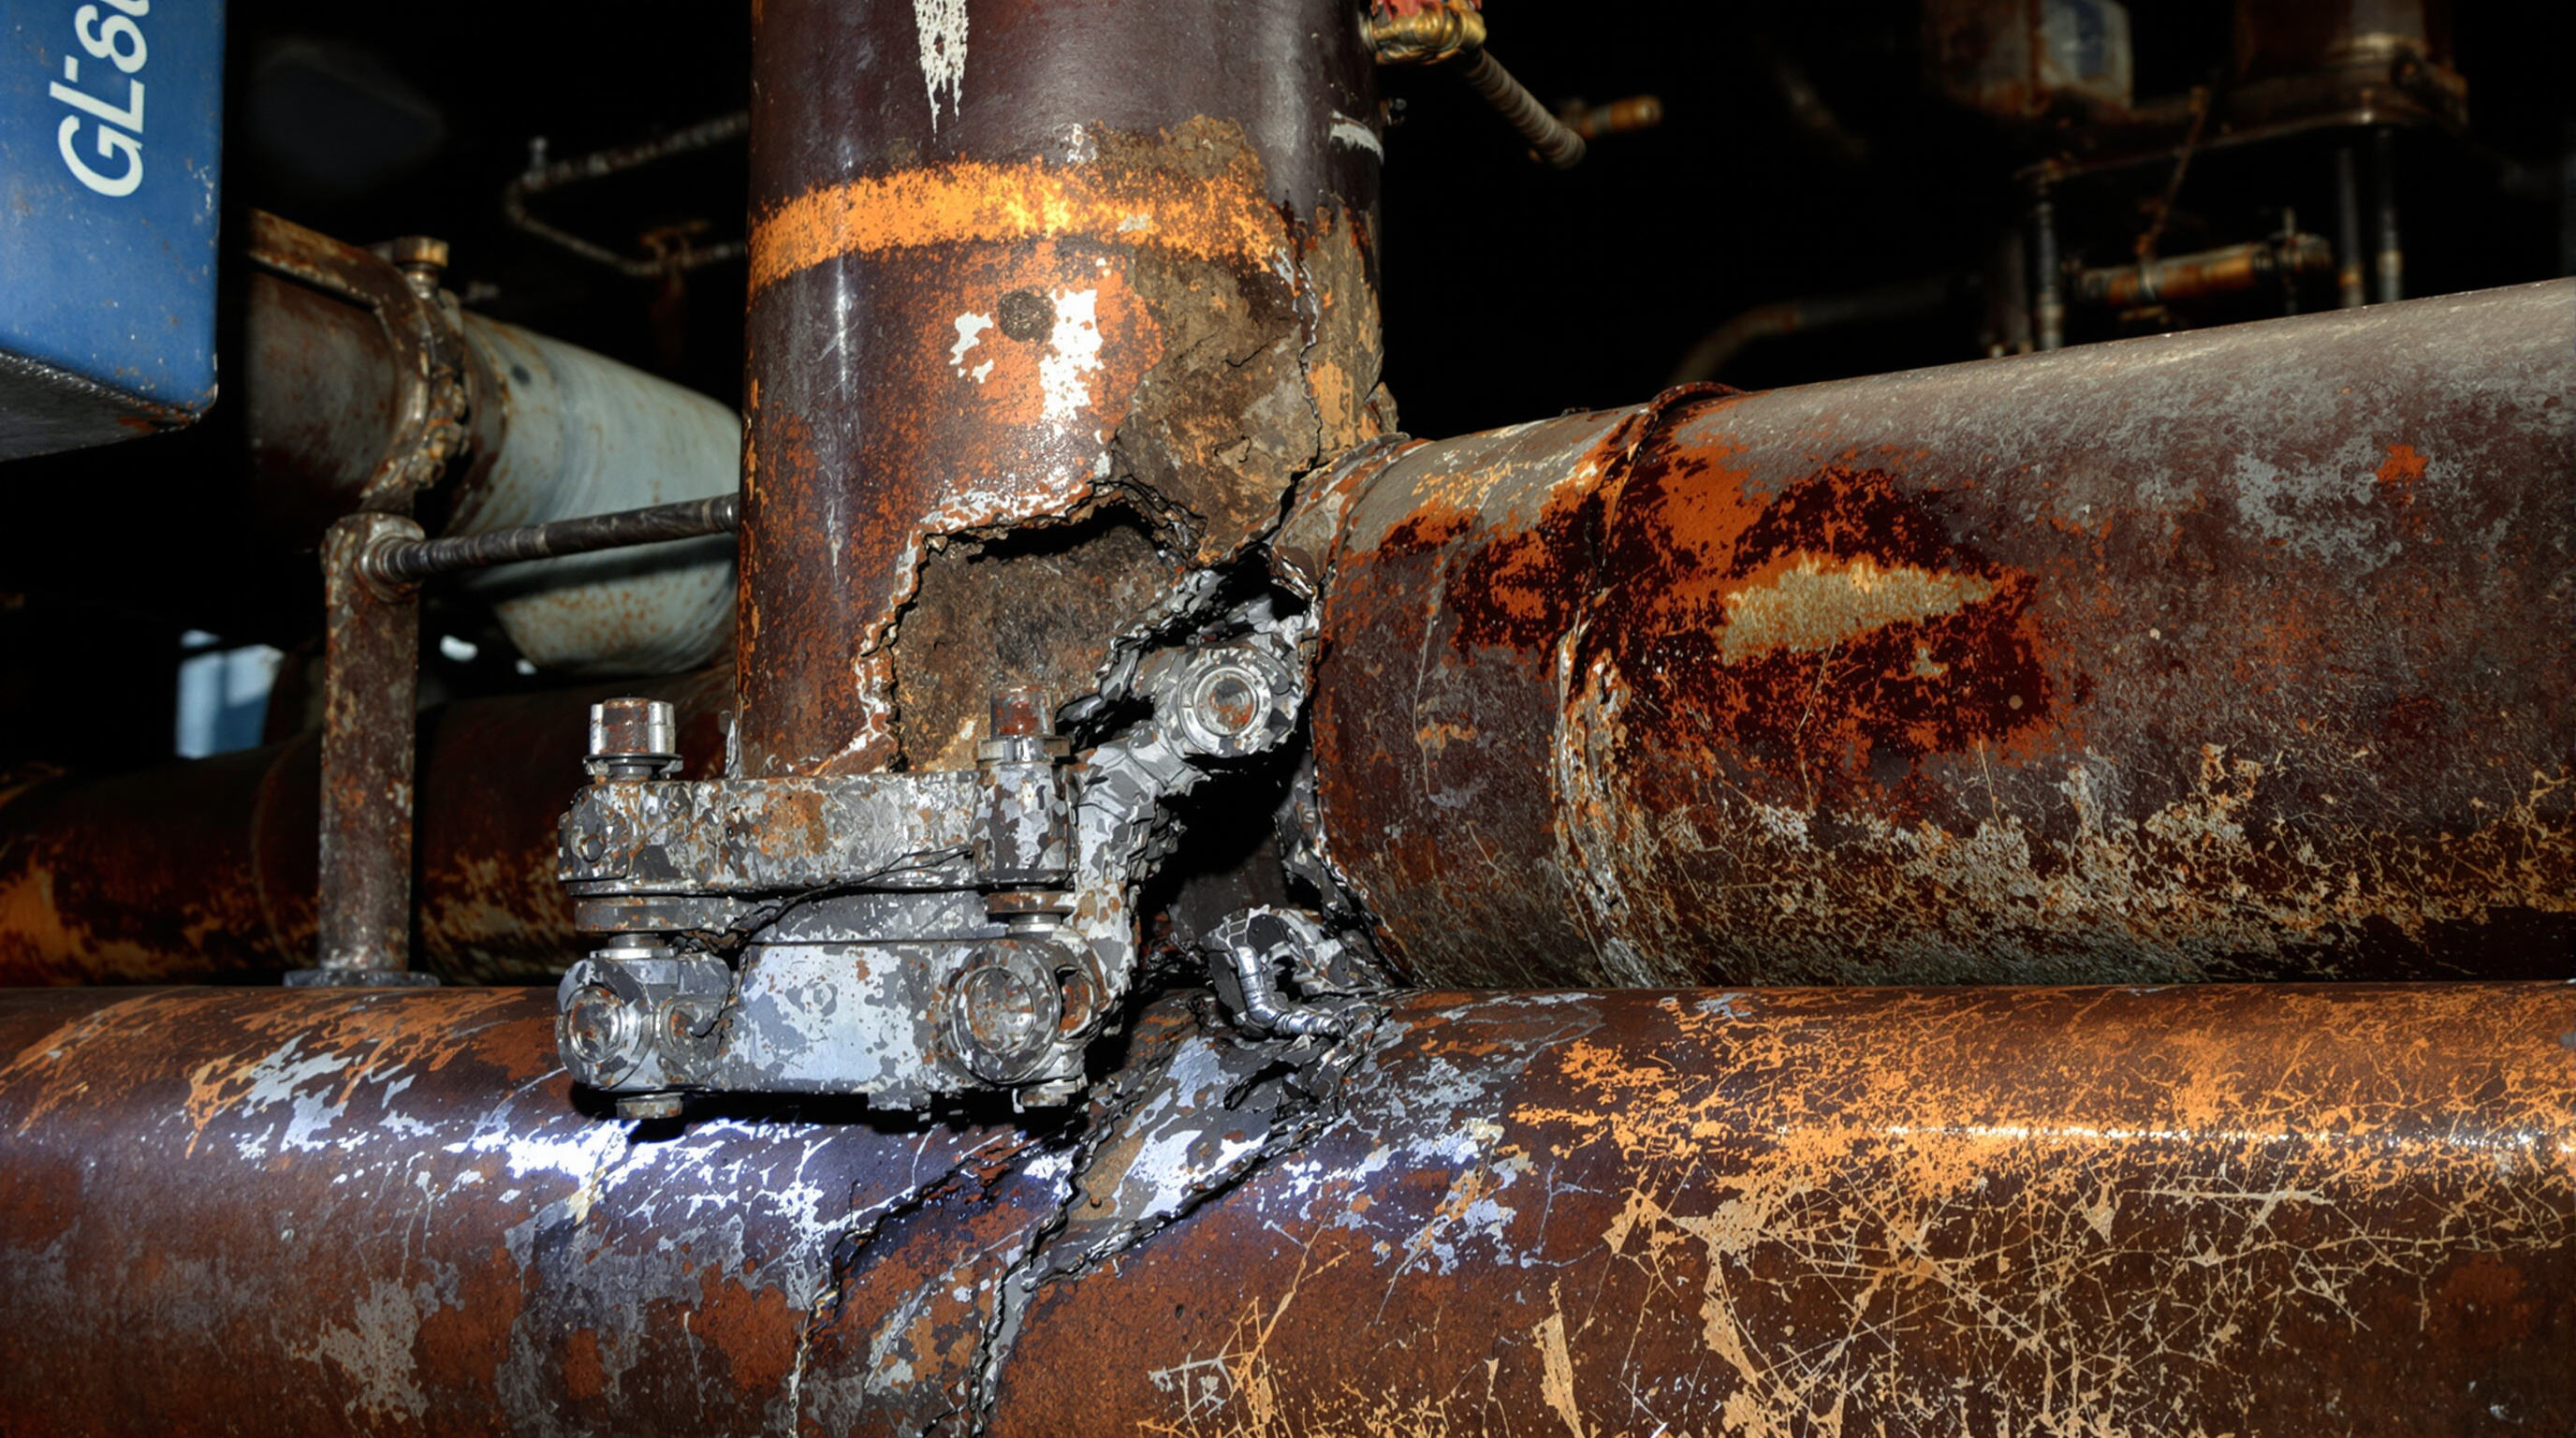
Frequent Welding Defects and Their Impact on Pipe Welding Line Performance
When looking at pipe welding operations, porosity, undercutting, and incomplete fusion stand out as some of the biggest trouble spots that technicians encounter regularly. These problems usually pop up when welders get their voltage or wire feed settings wrong, don't have enough shielding gas protecting the weld area, or when there's contamination like moisture or oil on the metal surfaces. The consequences can be serious too - joints affected by these flaws might lose around 40% of their strength compared to good welds, and cracks tend to spread through them at twice or even three times the normal rate. What makes this particularly concerning is how small clusters of porosity actually act as stress concentrators, making pipelines much more vulnerable to corrosion over time, especially in harsh environments where maintenance isn't always possible.
Leakage and Structural Integrity Issues in Welded Pipe Joints
Around two thirds of all leaks in high pressure pipe connections happen because the roots just don't penetrate properly. When there's not enough fusion between passes, tiny cavities form that get bigger when the pipes go through temperature changes. Too much heat during welding also creates problems by warping the metal. Looking at industry data from last year's ASME findings, we find something interesting too. If the ends of pipes aren't aligned correctly by more than 1.5 millimeters, this contributes to about one fifth of all structural failures seen in transmission lines across the country.
Corrosion, Rust, and Environmental Factors Accelerating Pipeline Degradation
Galvanic corrosion contributes to 30–50% of unexpected failures in coastal and industrial environments. Chloride-rich atmospheres degrade weld caps eight times faster than dry conditions, and soil with a pH below 4.5 significantly accelerates pitting in buried pipelines. Research indicates that epoxy-coated weld zones corrode 73% slower than uncoated joints in saline environments.
Early Detection of Cracks and Leaks to Prevent Catastrophic Failures
Ultrasonic testing or UT as it's often called can spot those tiny subsurface cracks down to around half a millimeter in size with pretty impressive accuracy rates hitting about 98%. Compare that to regular visual inspections which only manage around 80% accuracy at best. Then there's thermographic imaging technology that spots those temperature changes caused by micro leaks roughly 40 percent quicker than old fashioned pressure tests have ever been able to do. When companies start implementing these proactive monitoring systems across their infrastructure, the savings add up fast. Oil and gas operators report cutting maintenance expenses by nearly quarter of a million dollars each year for every single mile of pipeline they monitor this way, mainly because they avoid those costly unexpected shutdown situations that wreak havoc on production schedules.
Key Failure Patterns in Pipe Welding Lines
| Failure Type | Detection Method | Prevention Strategy |
|---|---|---|
| Porosity | X-ray imaging | Optimize shielding gas flow rates |
| Weld cracking | Phased array UT | Preheat to 150-200 °C pre-weld |
| Corrosion pitting | Eddy current testing | Apply corrosion-resistant alloys |
| Joint misalignment | Laser profile scanning | Implement automated fit-up systems |
Preventive and Predictive Maintenance for Pipe Welding Line Reliability
Scheduled inspections and standardized maintenance checklists for welding systems
Regular inspections are critical to maintaining reliable pipe welding line performance. Facilities using structured inspection schedules experience 50% fewer unplanned failures than those relying on reactive maintenance. Standardized checklists should include:
- Torch nozzle condition assessments
- Gas flow rate verification
- Wire feeder tension calibration
- Ground connection integrity checks
A major industrial study found that 78% of arc stability issues originate from uncalibrated parameters identified during routine checks. This proactive strategy reduces annual repair costs by $18,000 per welding station while supporting compliance with ISO 3834 standards.
Predictive maintenance using sensors and data analytics in pipe welding lines
Modern monitoring systems track key parameters in real time:
| Parameter | Threshold Alert | Data Source |
|---|---|---|
| Welding current | ±7% variance | Hall-effect sensors |
| Shielding gas purity | <99.2% | Mass spectrometers |
| Torch temperature | >400 °C | Infrared cameras |
Machine learning models analyze this data to predict electrode degradation up to 48 hours before failure, achieving 92% accuracy in field trials. Facilities using vibration analysis report 30% longer servo motor life, while thermal imaging prevents 65% of coolant system failures.
Calibration and alignment of welding equipment to ensure consistent quality
Proper alignment reduces weld defects by up to 40% in orbital welding applications, according to a 2023 manufacturing study. Essential calibration practices include:
- Validating wire feed speed with laser tachometers
- Auditing PLC parameters
- Verifying clamping force using load cells
A pipeline construction case study demonstrated that monthly calibration improved weld penetration consistency by 28% and reduced spatter-related rework by 19 hours per kilometer of weld.
Welding Equipment Care: Ensuring Peak Performance Across Processes
Effective maintenance of pipe welding line equipment directly impacts production quality and operational continuity across Shielded Metal Arc Welding (SMAW), MIG, TIG, and Flux-Cored Arc Welding (FCAW) systems.
Maintenance Best Practices for SMAW, MIG, TIG, and FCAW Welding Systems
- Electrode and wire feed care: Replace SMAW stubs longer than 2 inches to avoid arc instability. For MIG/FCAW systems, inspect contact tips hourly to prevent voltage drops due to wear
- Gas flow optimization: Maintain TIG shielding gas flow between 15–20 CFH, with regulator checks every quarter
- Cooling system protocols: Inspect water-cooled TIG torch lines for blockages and clean filters every 400 operating hours
| Component | Inspection Frequency | Critical Tolerance |
|---|---|---|
| MIG contact tips | Every 8 hours | 0.5mm diameter expansion |
| TIG collets | Weekly | 0.1mm deformation limit |
| FCAW drive rolls | 500kg wire consumed | 0.25mm groove wear depth |
Addressing Equipment Wear and Misalignment to Prevent Weld Defects
Real-time monitoring reduces weld defects by 27% when detecting:
- Torch alignment drift: Laser-guided systems trigger alerts for deviations over 0.5 ° in orbital welding heads
- Power source decay: Automated logging flags voltage ripple exceeding 5% in transformer units
- Mechanical wear patterns: Predictive analytics detect MIG liner wear up to 72 hours before failure
A 2024 Welding Systems Reliability Report found that torque-limited nozzle tightening reduces thread stripping incidents by 41% compared to manual methods. Spectral analysis of motor vibrations predicts bearing failures in wire feeders with 89% accuracy 30 days in advance.
Inspection and Quality Control in Pipe Welding Operations
Non-Destructive Testing (NDT) Methods: Ultrasonic and Radiographic Inspection
Testing welds without causing damage is what non-destructive testing does best. When it comes to ultrasonic inspection, technicians send high frequency sound waves through materials to find hidden problems like cracks or empty spaces inside. According to recent studies from ASME, these tests can catch around 95% of issues in really important weld joints. Another common method involves radiography where X rays or gamma rays create pictures showing what's going on inside welds. This helps spot things like tiny air pockets or areas where metal didn't fuse properly during welding. Both approaches meet requirements set by API 570 for pipes already in operation. What makes them valuable is their ability to pinpoint potential trouble spots so engineers can fix problems long before they cause serious failures down the road.
Visual vs. Automated Inspection: Balancing Accuracy and Efficiency
Looking at surfaces manually still works pretty well for finding defects, though it really depends on how good the person doing the inspection happens to be. The new AI driven systems can actually check those weld seams in about half the time it takes someone to do it by hand, plus they spot tiny flaws down at the micron level that might slip past human eyes. Most shops these days are going with a mix of both methods anyway. They let workers handle the easy to reach spots while saving the automated scanners for those tricky joints where problems could cause serious issues later on. This way everyone gets what they need without cutting corners on safety.
Post-Repair Verification and Weld Integrity Assurance Protocols
All repairs must be re-inspected using the original NDT method to confirm defect resolution. Key post-repair steps include:
- Pressure testing at 1.5x operational pressure to verify structural integrity
- Documenting repair parameters for traceability
- Comparing pre- and post-repair inspection data
This closed-loop process reduces repeat failures by 63% in pipe welding lines, according to a 2024 AWS D1.1 Compliance Study.
Minimizing Downtime with Rapid Diagnosis and Continuous Improvement
Rapid Response Protocols for Diagnosing and Repairing Welding Line Failures
Good pipe welding work needs solid backup plans when equipment goes down. Studies point out there are basically three main parts to downtime problems: how long it takes to notice something's wrong (detection time), then figuring out what to do about it (decision making time), and finally fixing whatever broke (repair time). Putting in place those fancy real time monitoring systems with automatic warnings cuts down on how quickly we spot failures, sometimes by around 40% in really tough pressure situations. When different departments work together and know their way around root cause analysis, they tend to find out what's causing issues like weird power surges or inconsistent gas flow pretty fast, usually within about 15 minutes or so. This quick reaction stops small problems from turning into bigger headaches later on.
Case Study: Reducing Unplanned Stops in a High-Volume Pipe Welding Facility
A midwestern pipeline manufacturer reduced unplanned downtime by 35% through three key actions:
- Installing vibration sensors on orbital welding heads to predict motor failures
- Using color-coded repair kits for common electrode issues
- Applying a decision tree to prioritize leaks over cosmetic defects
This strategy reduced average repair time from 82 to 53 minutes while maintaining ASME BPVC Section IX compliance across 12,000 linear feet of welded joints.
Continuous Improvement Through Operator Training and Data-Driven Optimization
Monthly skills assessments show a clear link between technician performance and defect rates: those scoring above 85% on gas shielding protocols produce 28% fewer porosity defects. Integrating augmented reality (AR) welding simulators with production data analytics enables facilities to:
- Identify skill gaps in real time
- Customize training for specific joint types
- Reduce rework by 19% within six months
This creates a feedback loop where equipment data informs training priorities and operator expertise enhances diagnostic precision.
Frequently Asked Questions
What are common issues in pipe welding lines?
Common issues include porosity, undercutting, incomplete fusion, leakage, and structural integrity problems. Corrosion, rust, and environmental factors can also accelerate pipeline degradation.
How can early detection of pipe welding defects be achieved?
Early detection of defects can be achieved using ultrasonic testing (UT) and thermographic imaging technologies, which are highly accurate in identifying subsurface cracks and temperature changes respectively.
What maintenance practices enhance pipe welding line reliability?
Scheduled inspections, preventive and predictive maintenance, sensor data analytics, and proper equipment calibration and alignment can significantly enhance pipe welding line reliability.
How does predictive maintenance work in pipe welding lines?
Predictive maintenance utilizes real-time monitoring systems that track key weld parameters. Machine learning models predict potential failures by analyzing the collected data to prevent breakdowns before they occur.
What is the role of non-destructive testing in quality control?
Non-destructive testing (NDT), such as ultrasonic and radiographic inspection, is crucial in inspecting welds for defects without causing damage, ensuring structural integrity and compliance with industry standards.
Table of Contents
- Common Failures in Pipe Welding Lines and Their Root Causes
- Preventive and Predictive Maintenance for Pipe Welding Line Reliability
- Welding Equipment Care: Ensuring Peak Performance Across Processes
- Inspection and Quality Control in Pipe Welding Operations
- Minimizing Downtime with Rapid Diagnosis and Continuous Improvement
- Frequently Asked Questions

